
Hacking a Harley's Tuner
Finding my ways to the firmware of a famous Harley tuner
NOTE: All encryption keys and passwords are fake ones made up for writing this post.
Part 1: What is a tuner
A tuner is a little device supposed to be plugged to a bike. It is meant to configure the on board computer in order to optimize fuel to air ratios and other parameters. It is known to be used to lift engine power restrictions, or optimize fuel consumption. Though I am pretty sure a real biker will have much better words to describe how it can be used.
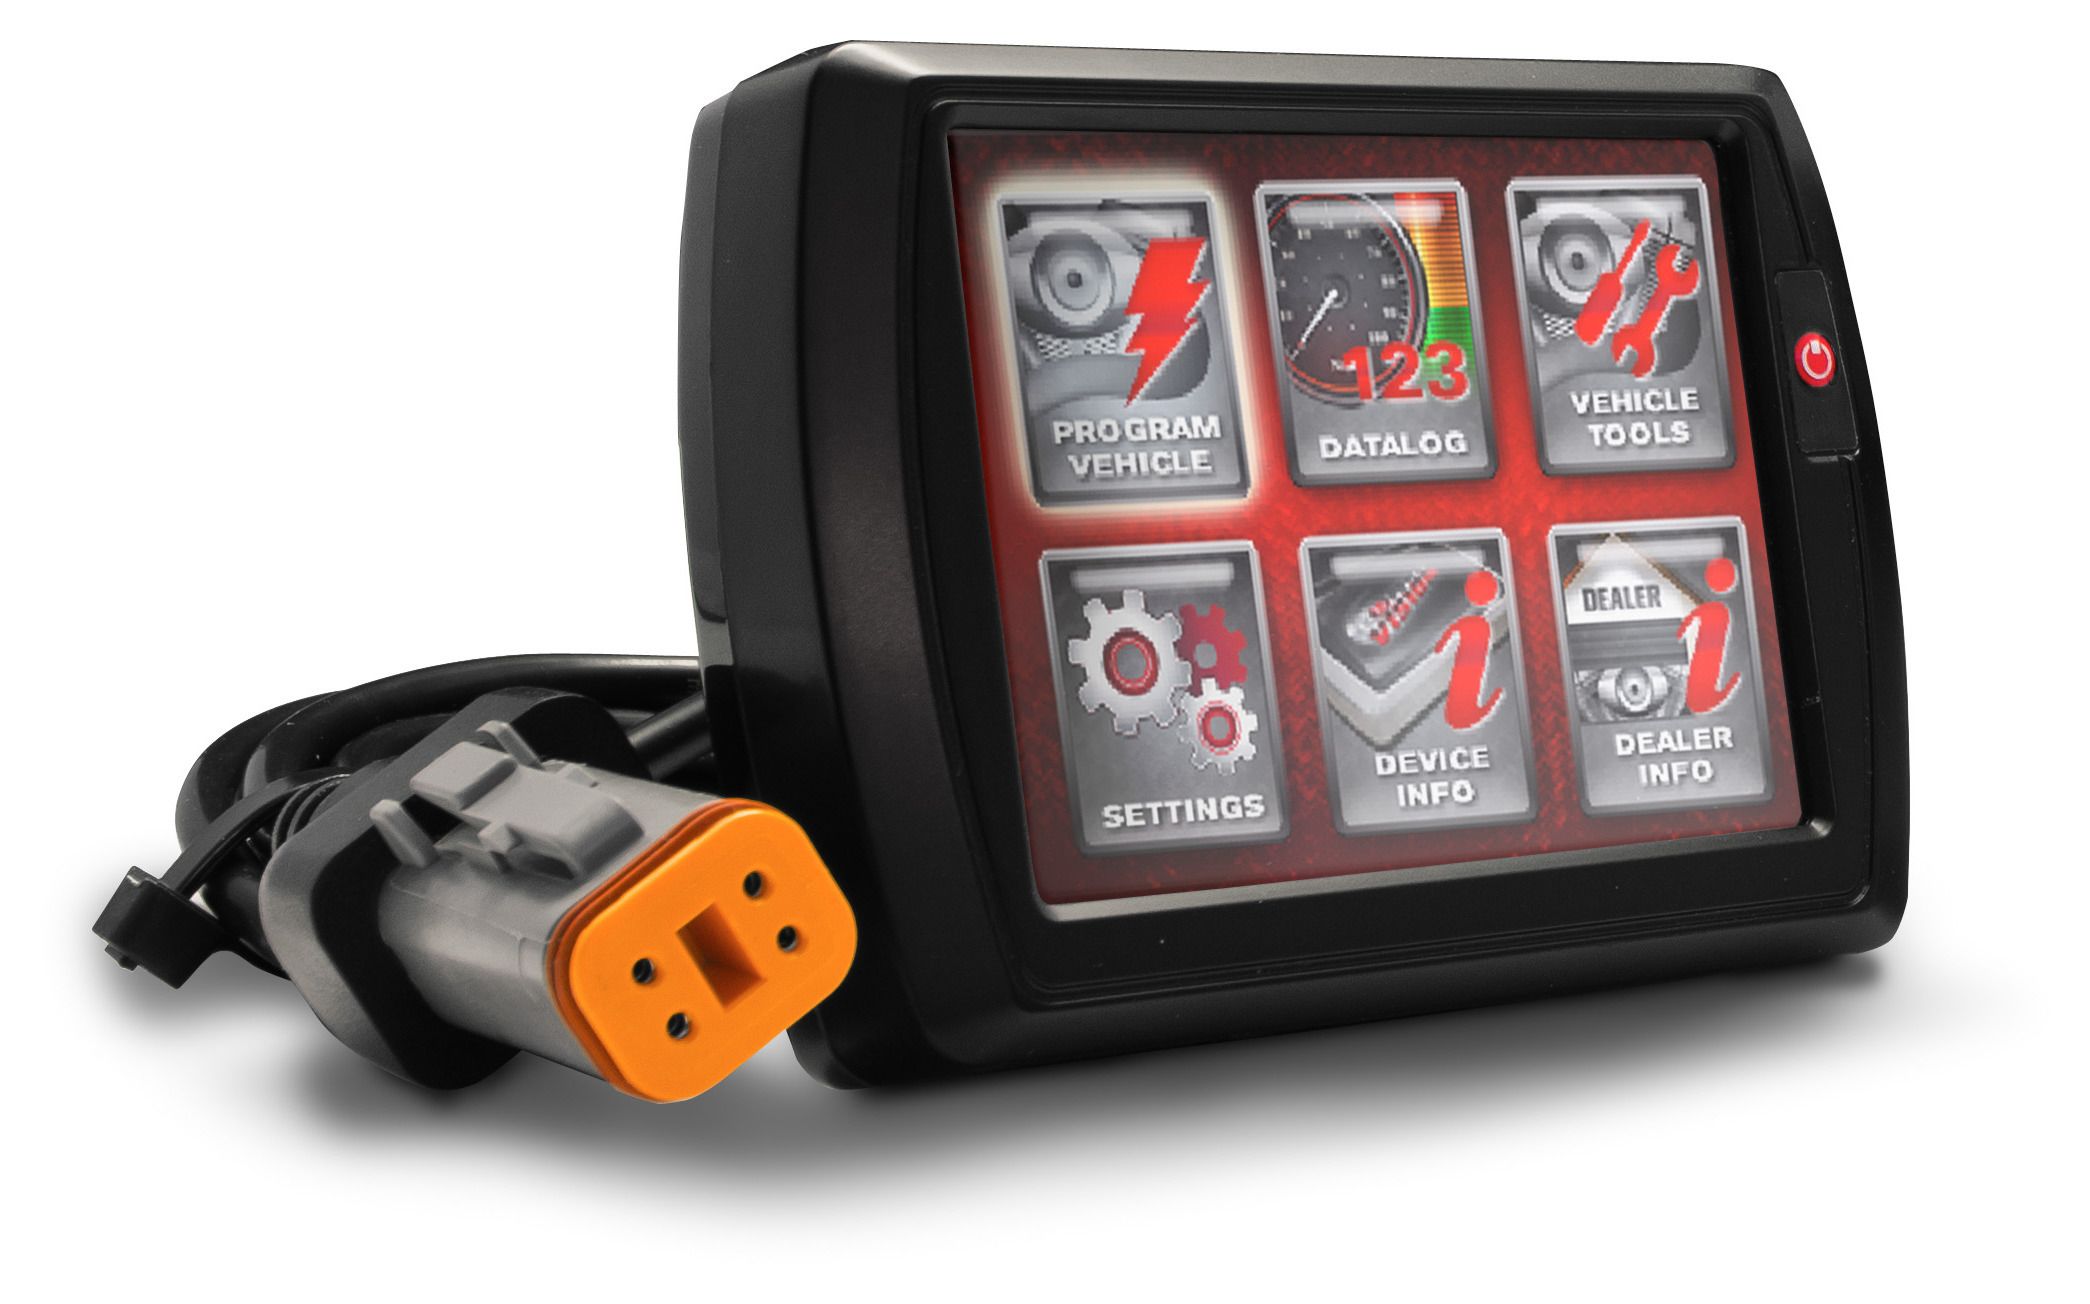
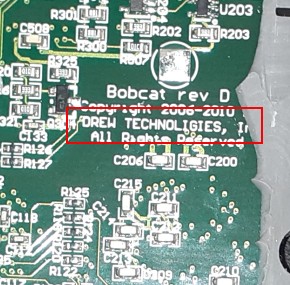
The model studied here is a Power Vision for Harley Davidson, by Dynojet. The hardware is a Bobcat Revision D by Drew Technologies (there is a typo on the PCB, it is actually written Drew Technoligies).
Part 2: Getting the firmware
2.1: Analyzing the tools
The tuner is supposed to be configured while being connected to a computer. It has a mini-USB input next to the CAN Bus (this one should be connected to the bike’s on board computer). The tools used to configure it are free to download on Dynojet’s website.
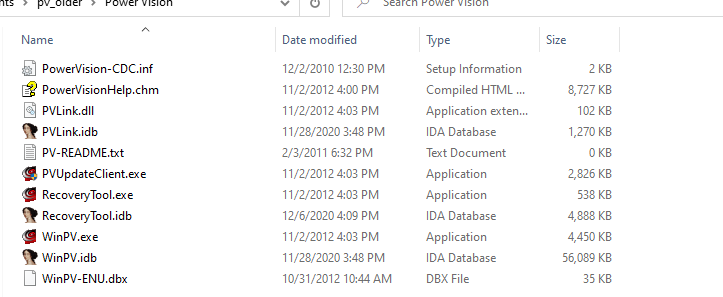
The installed Windows tools contain the following binaries:
- WinPV.exe: the main software with the GUI
- PVUpdateClient.exe: updater, its job is to download in charge new firmwares and copying them through the USB link
- RecoveryTool.exe: called exclusively by the PVUpdateClient to flash the recovery part of the firmware
- PVLink.dll: in charge of the communication through the serial port, very important
Now our goal is to get the firmware so we can start reversing. Checking on YouTube tutorials and TheWaybackMachine, we can see that firmwares used to be available directly on Dynojet’s website, under the firmware section, which is now empty. We find an interesting lead by running the PVUpdateCLient.exe, and Wireshark simultaneously.
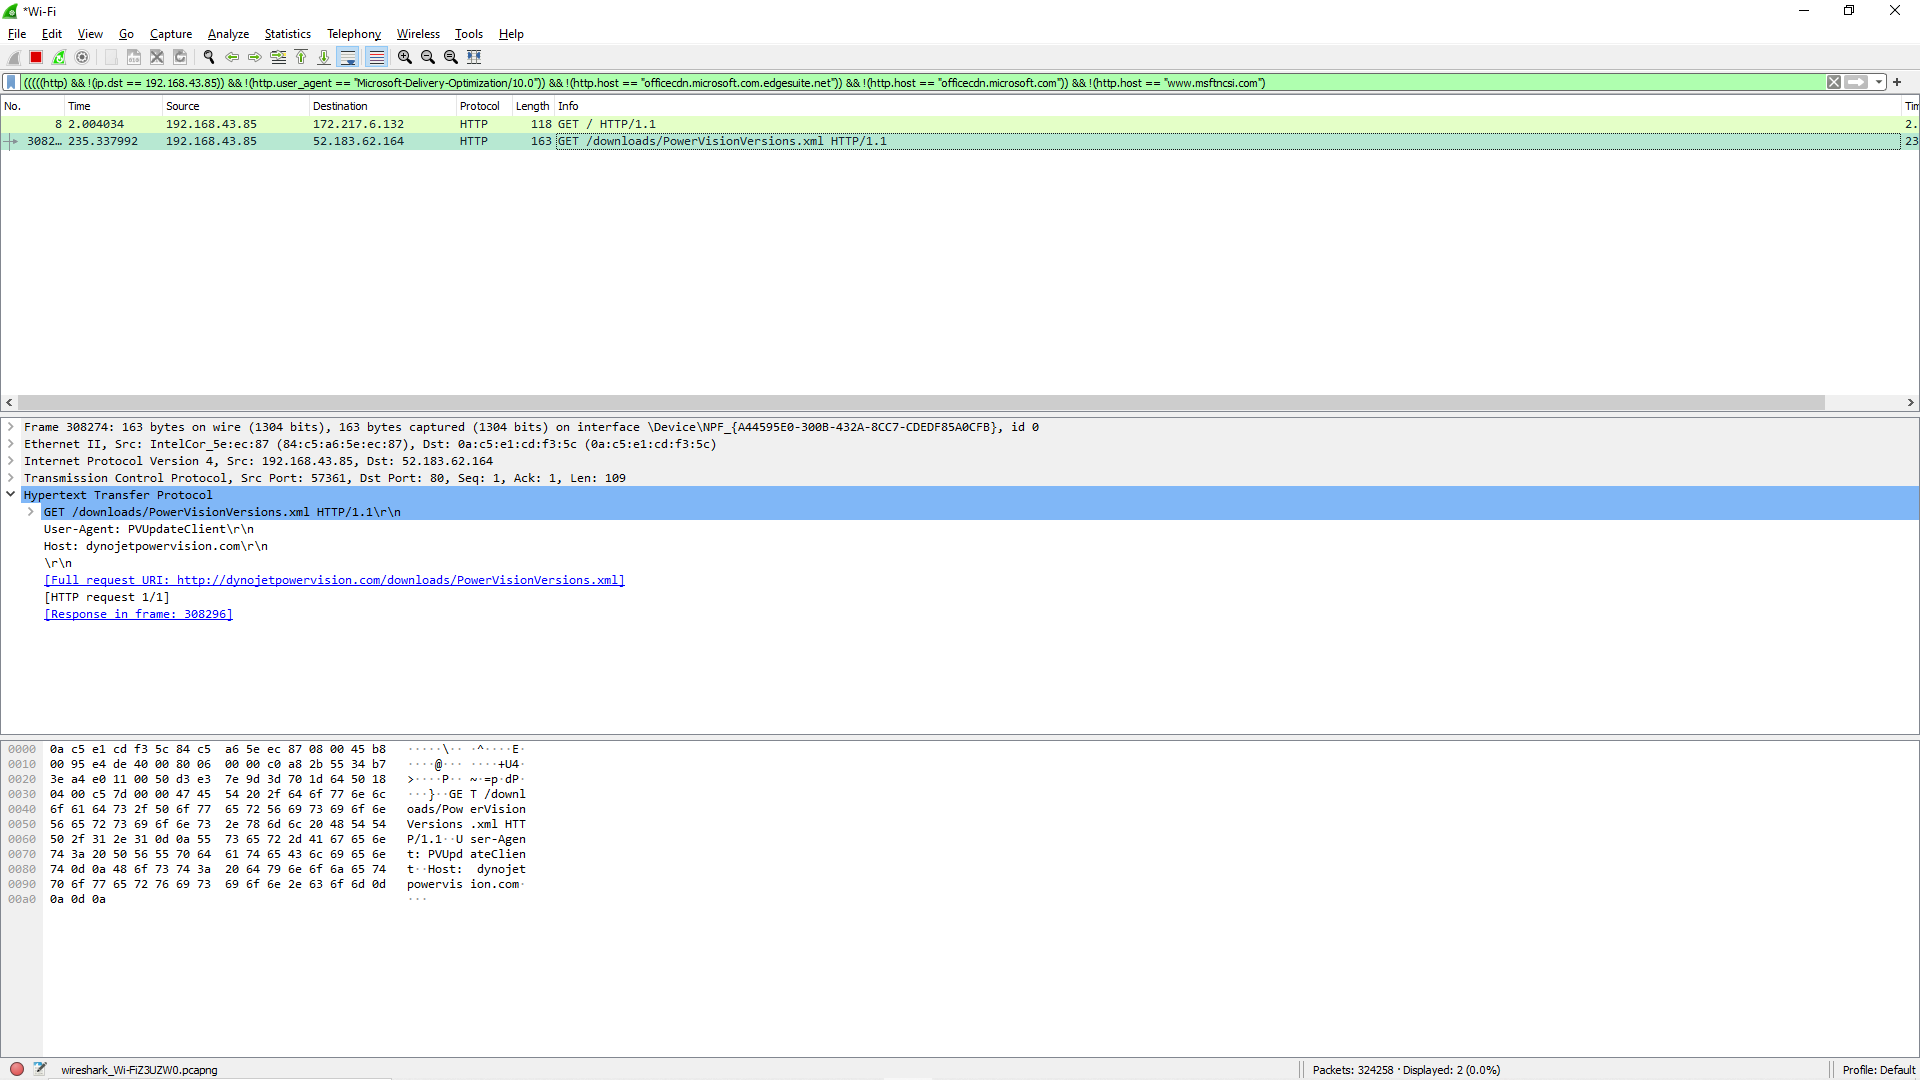
The Wireshark capture shows plaintext HTTP going to dynojetpowervision.com and checking for available firmware files. There is no real protection here, just the User-Agent you are supposed to be using is “PVUpdateClient”, otherwise the files remain hidden.
Using curl, we get the filenames we are looking for:
 curl -v -A PVUpdateClient http://dynojetpowervision.com/downloads/PowerVisionVersions.xml
*   Trying 52.183.62.164:80...
* TCP_NODELAY set
* Connected to dynojetpowervision.com (52.183.62.164) port 80 (#0)
> GET /downloads/PowerVisionVersions.xml HTTP/1.1
> Host: dynojetpowervision.com
> User-Agent: PVUpdateClient
> Accept: */*
>
* Mark bundle as not supporting multiuse
< HTTP/1.1 200 OK
< Content-Type: text/xml
< Last-Modified: Mon, 09 Nov 2020 18:35:22 GMT
< Accept-Ranges: bytes
...
 <PVSystemUpgrade.1.1 ver="1.0.1 1.0.1" package="PV_SYSTEMUPGRADE-1.0.1-631.pvr"/>
 <PVFirmware.1.1 ver="2.0.47-1613" package="PV_FIRMWARE-2.0.47-1613.pvu" />
 <PVTuneDB.1.1 ver="0.0.10.11" package="PV_TUNEDB-0.0.10.11.pvu" />
...
We start focusing on the FIRMWARE and SYSTEM_UPGRADE files, as they are the most likely to contain what we are interested in. We download them using wget, and trouble begins here:
mishellcode@unisec:~/powervision$ unzip PV_SYSTEMUPGRADE-1.0.1-631.pvr
Archive:  PV_SYSTEMUPGRADE-1.0.1-631.pvr
[PV_SYSTEMUPGRADE-1.0.1-631.pvr] PVRecoveryInfo.xml password:
mishellcode@unisec:~/powervision$ unzip PV_FIRMWARE-2.0.47-1613.pvu
Archive:  PV_FIRMWARE-2.0.47-1613.pvu
extracting: PVU_TYPE
extracting: PVU_CERT
inflating: PVU_FILE
mishellcode@unisec:~/powervision$ file PVU_FILE
PVU_FILE: openssl enc'd data with salted password
The SYSTEM_RECOVERY, that we will call “PVR file” is a password protected archive, and the FIRMWARE file, named “PVU_FILE”, is actually encrypted using Openssl. Also, the PVU_CERT file indicates that there might be an integrity check performed on the PVU_FILE.
I’ll skip the details, but since the PVR file is written in plaintext on the device, it was obvious that one of the tools (in this case RecoveryTool.exe) had the password somewhere. A bit of reverse engineering later, we get a password “POWERVISION_RECOVER_3456789Z”. Though I won’t explain the whole thing here, this password is actually somewhat hidden. It is not hardcoded but instead, some loops go over integer values to generate the ending pattern of the password and then concatenate a capital letter to it. There is a clear intention to hide this from badly intentioned users, and that’s usually a sign we’re on the right track.
Recovery File Contents
nandflash_bobcat.bin: data
PVRecoveryInfo.xml:   exported SGML document, ASCII text, with CRLF line terminators
u-boot.bin:           data
uImage:               u-boot legacy uImage, Bobcat-577, Linux/ARM, OS Kernel Image (Not compressed), 828996 bytes, Thu Feb  3 14:44:52 2011, Load Address: 0x20008000, Entry Point: 0x20008040, Header CRC: 0x5EDBBE36, Data CRC: 0xD026D2D5
The recovery file is a u-boot image with a Kernel image. The entropy of the files indicates that parts of them are encrypted. Also, the presence of at91bootstrap file indicates we are in presence of a SAM AT 91 board, which can use secure boot. Damned. We can though get one information from those files: the processor type is SAM926X
Browsing the internet, we also can find the following forum post, where a Drew Technoligies employee asks information about this very same family of processors (specifically, the SAM9260-EK): https://lists.denx.de/pipermail/u-boot/2011-June/093651.html
Update File
Since the update file is encrypted, we can formulate two hypothesis:
- The firmware is stored encrypted, and decrypted at runtime. That might be slow, but since the board supports secure boot, it is a viable hypothesis.
- The firmware is stored unencrypted, only the updates are encrypted. The update process decrypts the PVU_FILE, and replaces the running firmware. Would be nice, wouldn’t it?
2.2: Physical setup
A quick and dirty win is always to desolder the memory chip to get the firmware. But in that case, it is a bit more complicated. The entire PCB was molded in a plastic protection, probably for sealing against humidity.
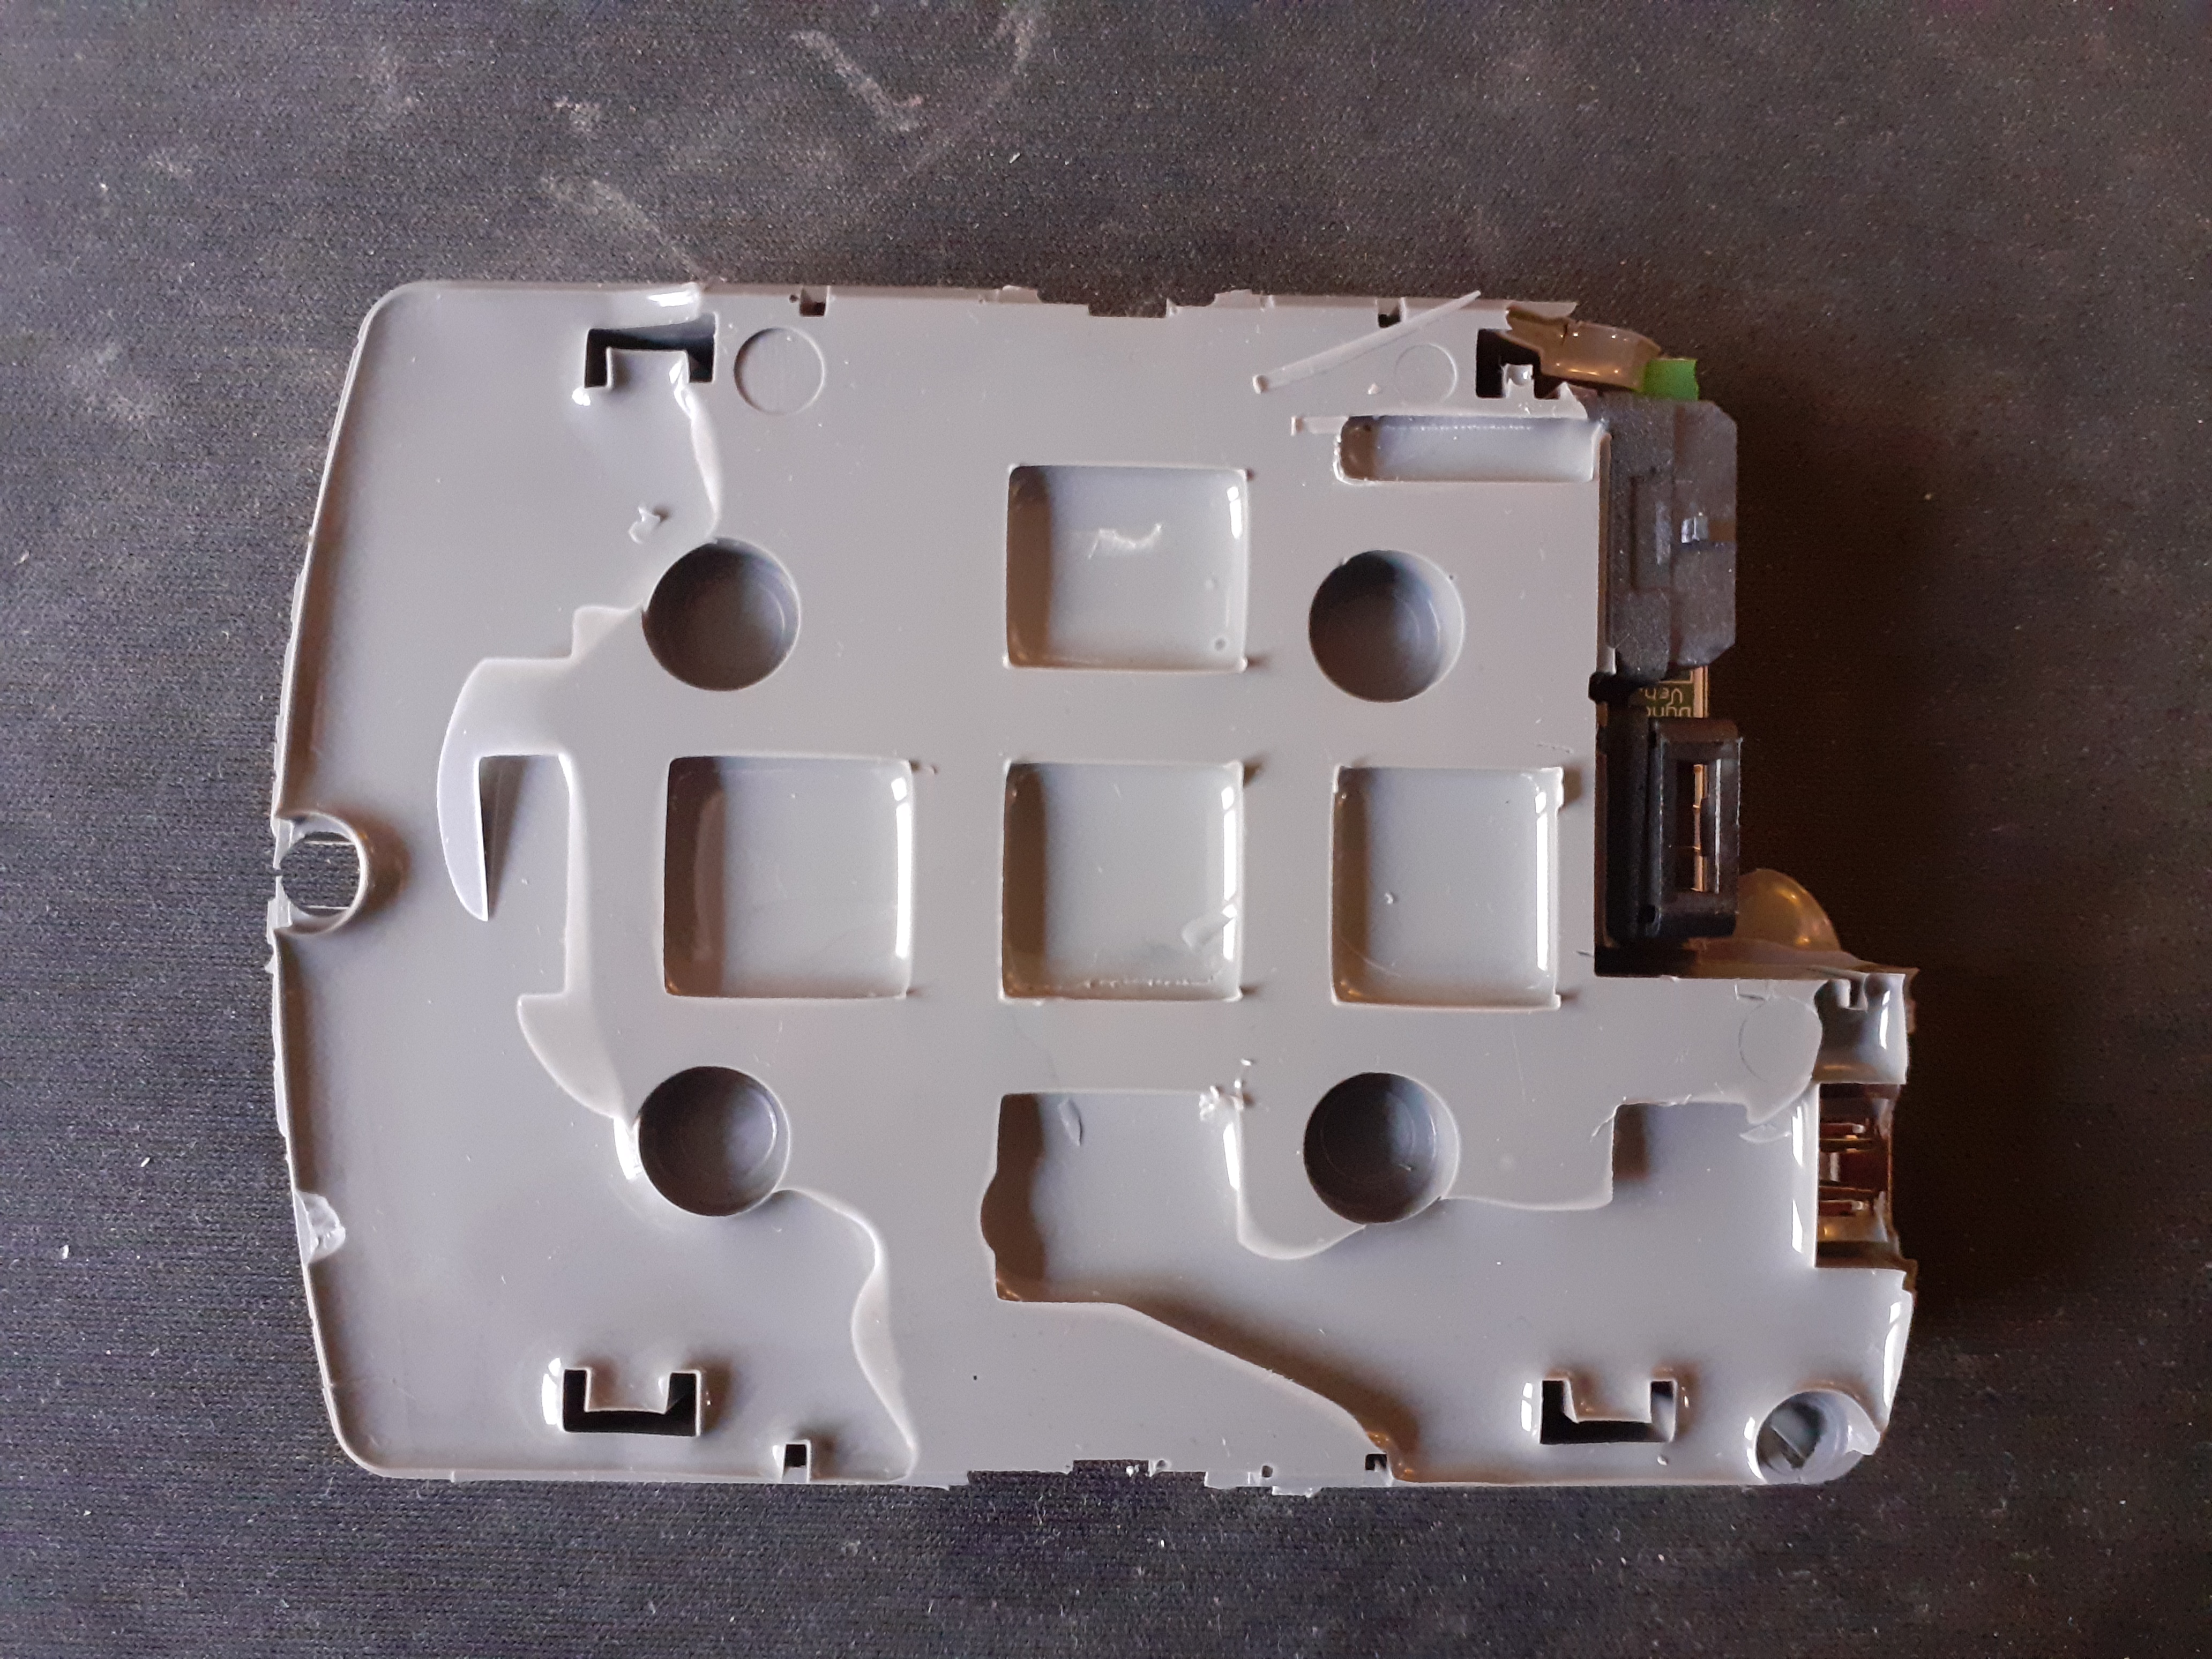

I had to cut it open to see the actual PCB:
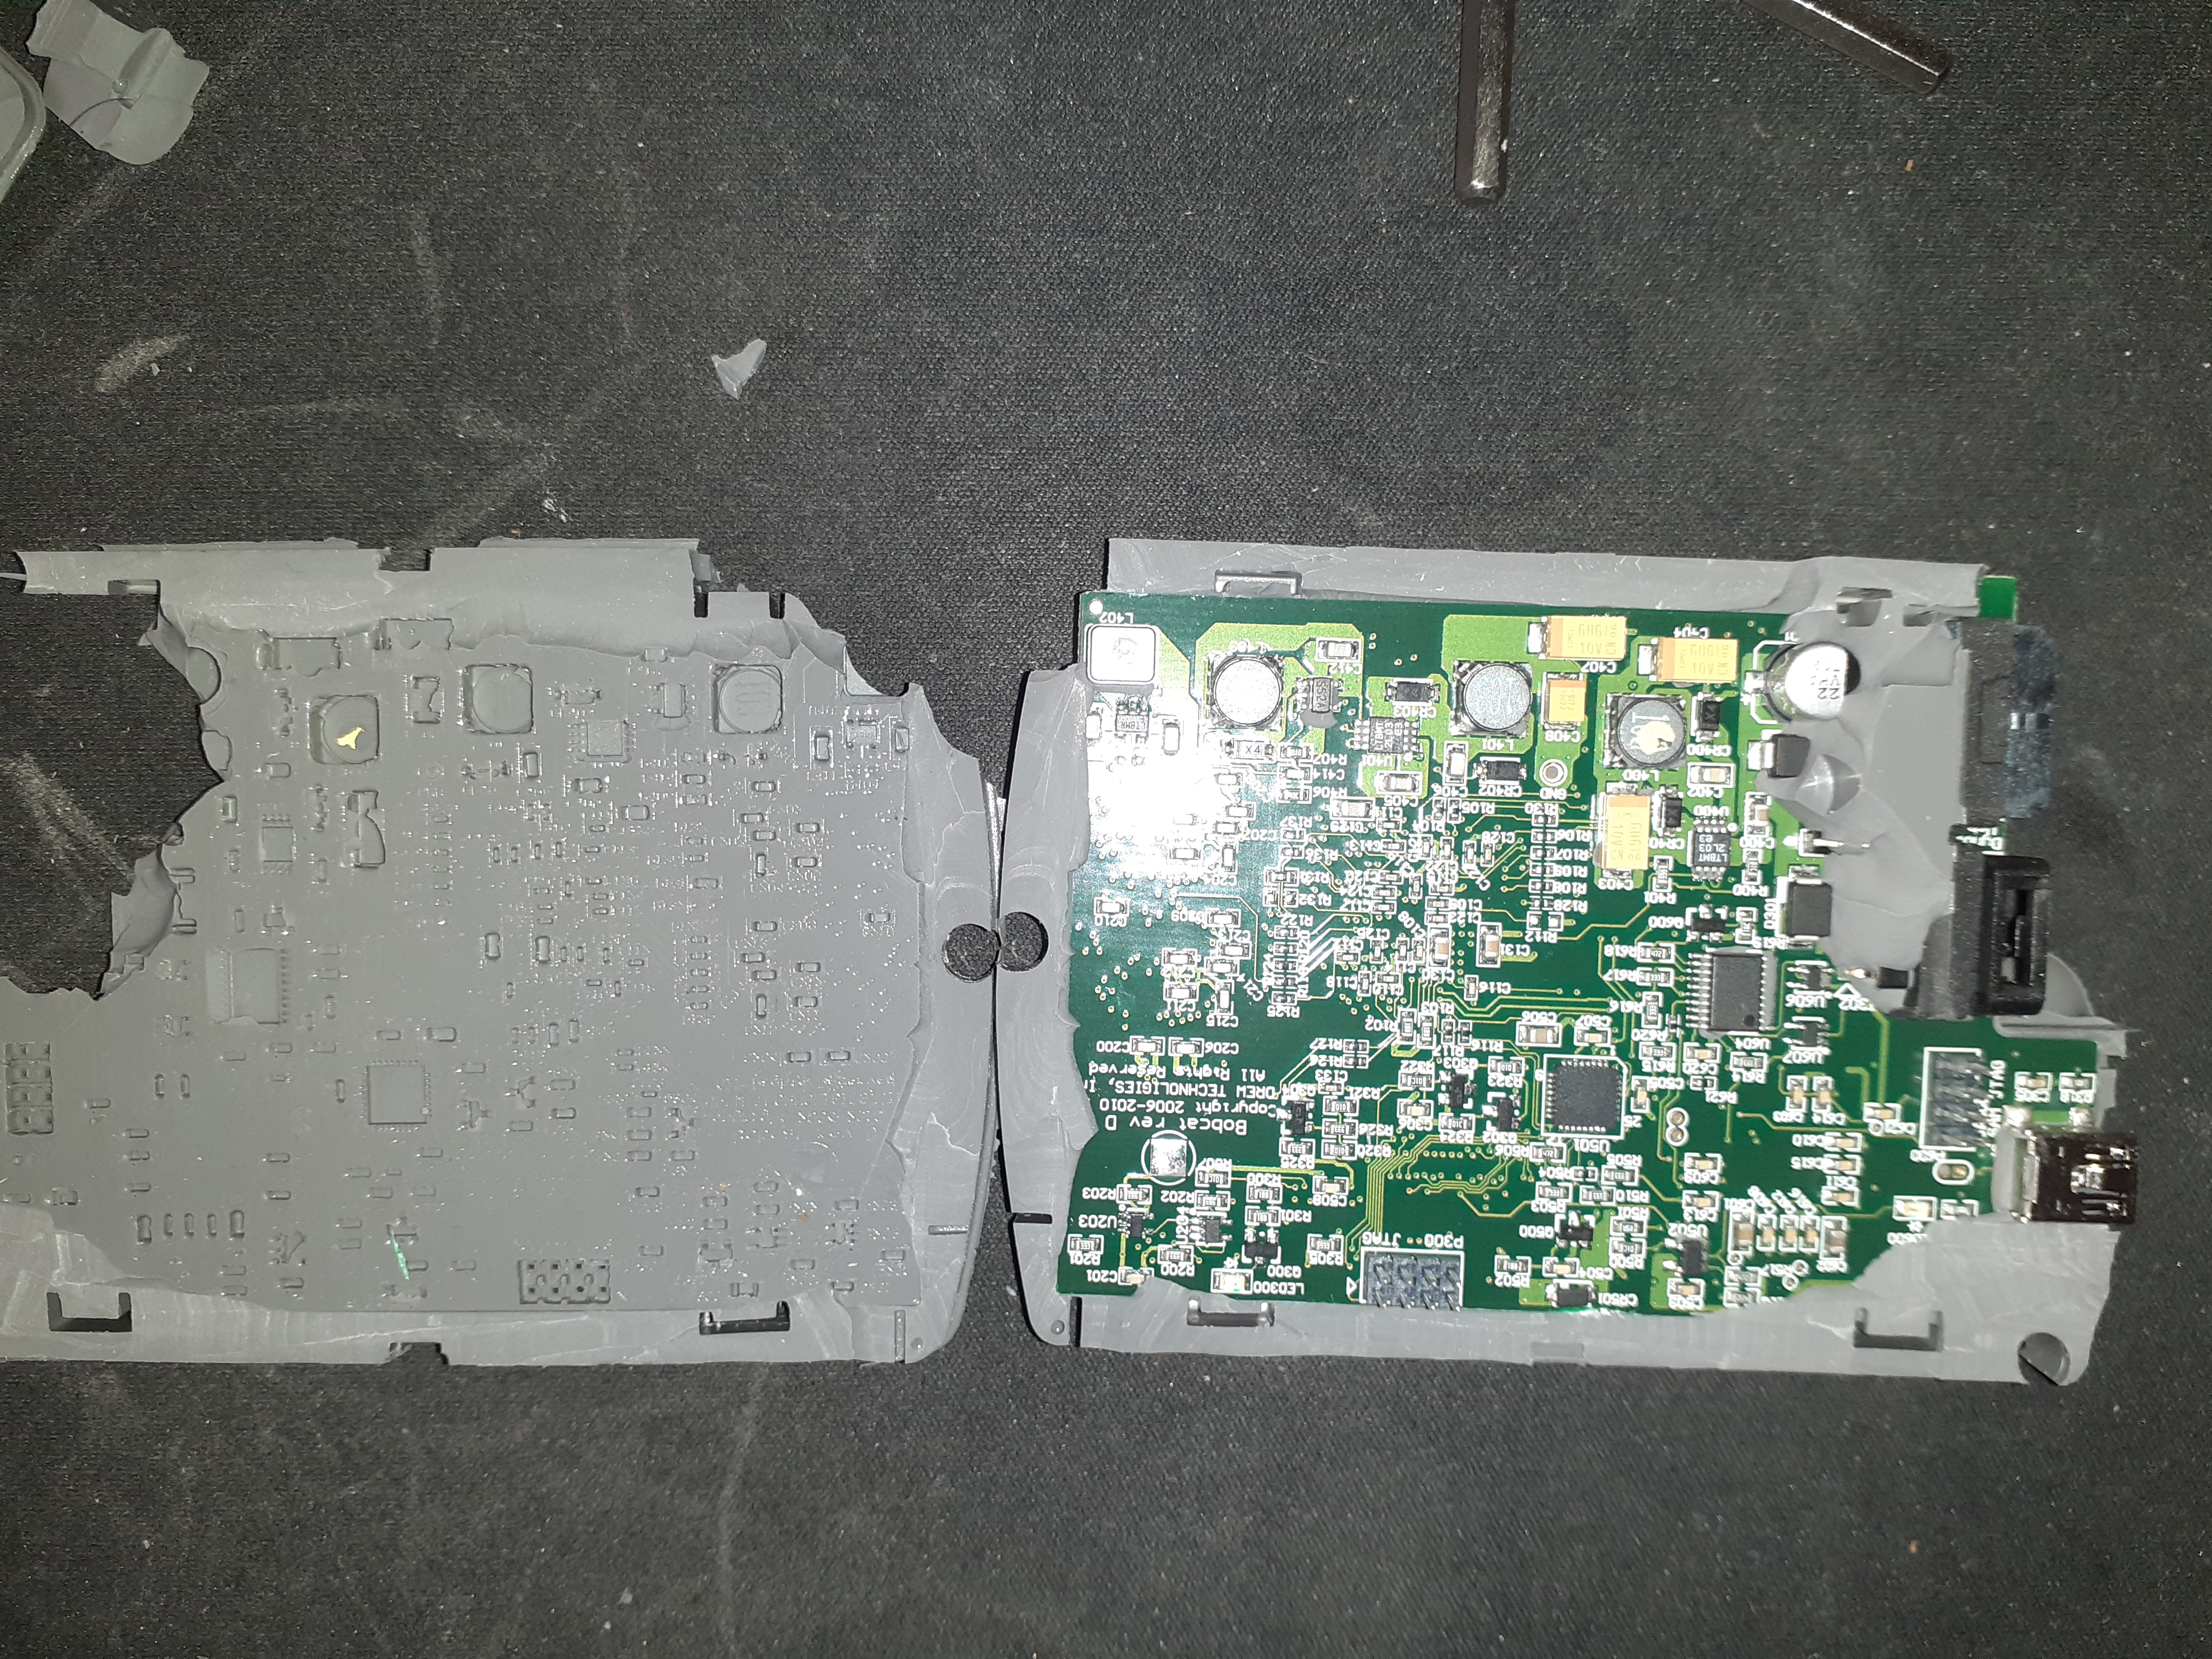
The memory chip seems to be soldered on the other side of the PCB. It is pretty bad news because it is under the screen, and it would probably destroy the device to try to get this physically. Also, at this stage, we don’t know if getting the chip will help us. It could simply contain an Openssl encrypted file that is decrypted during the boot process. So we looked elsewhere.
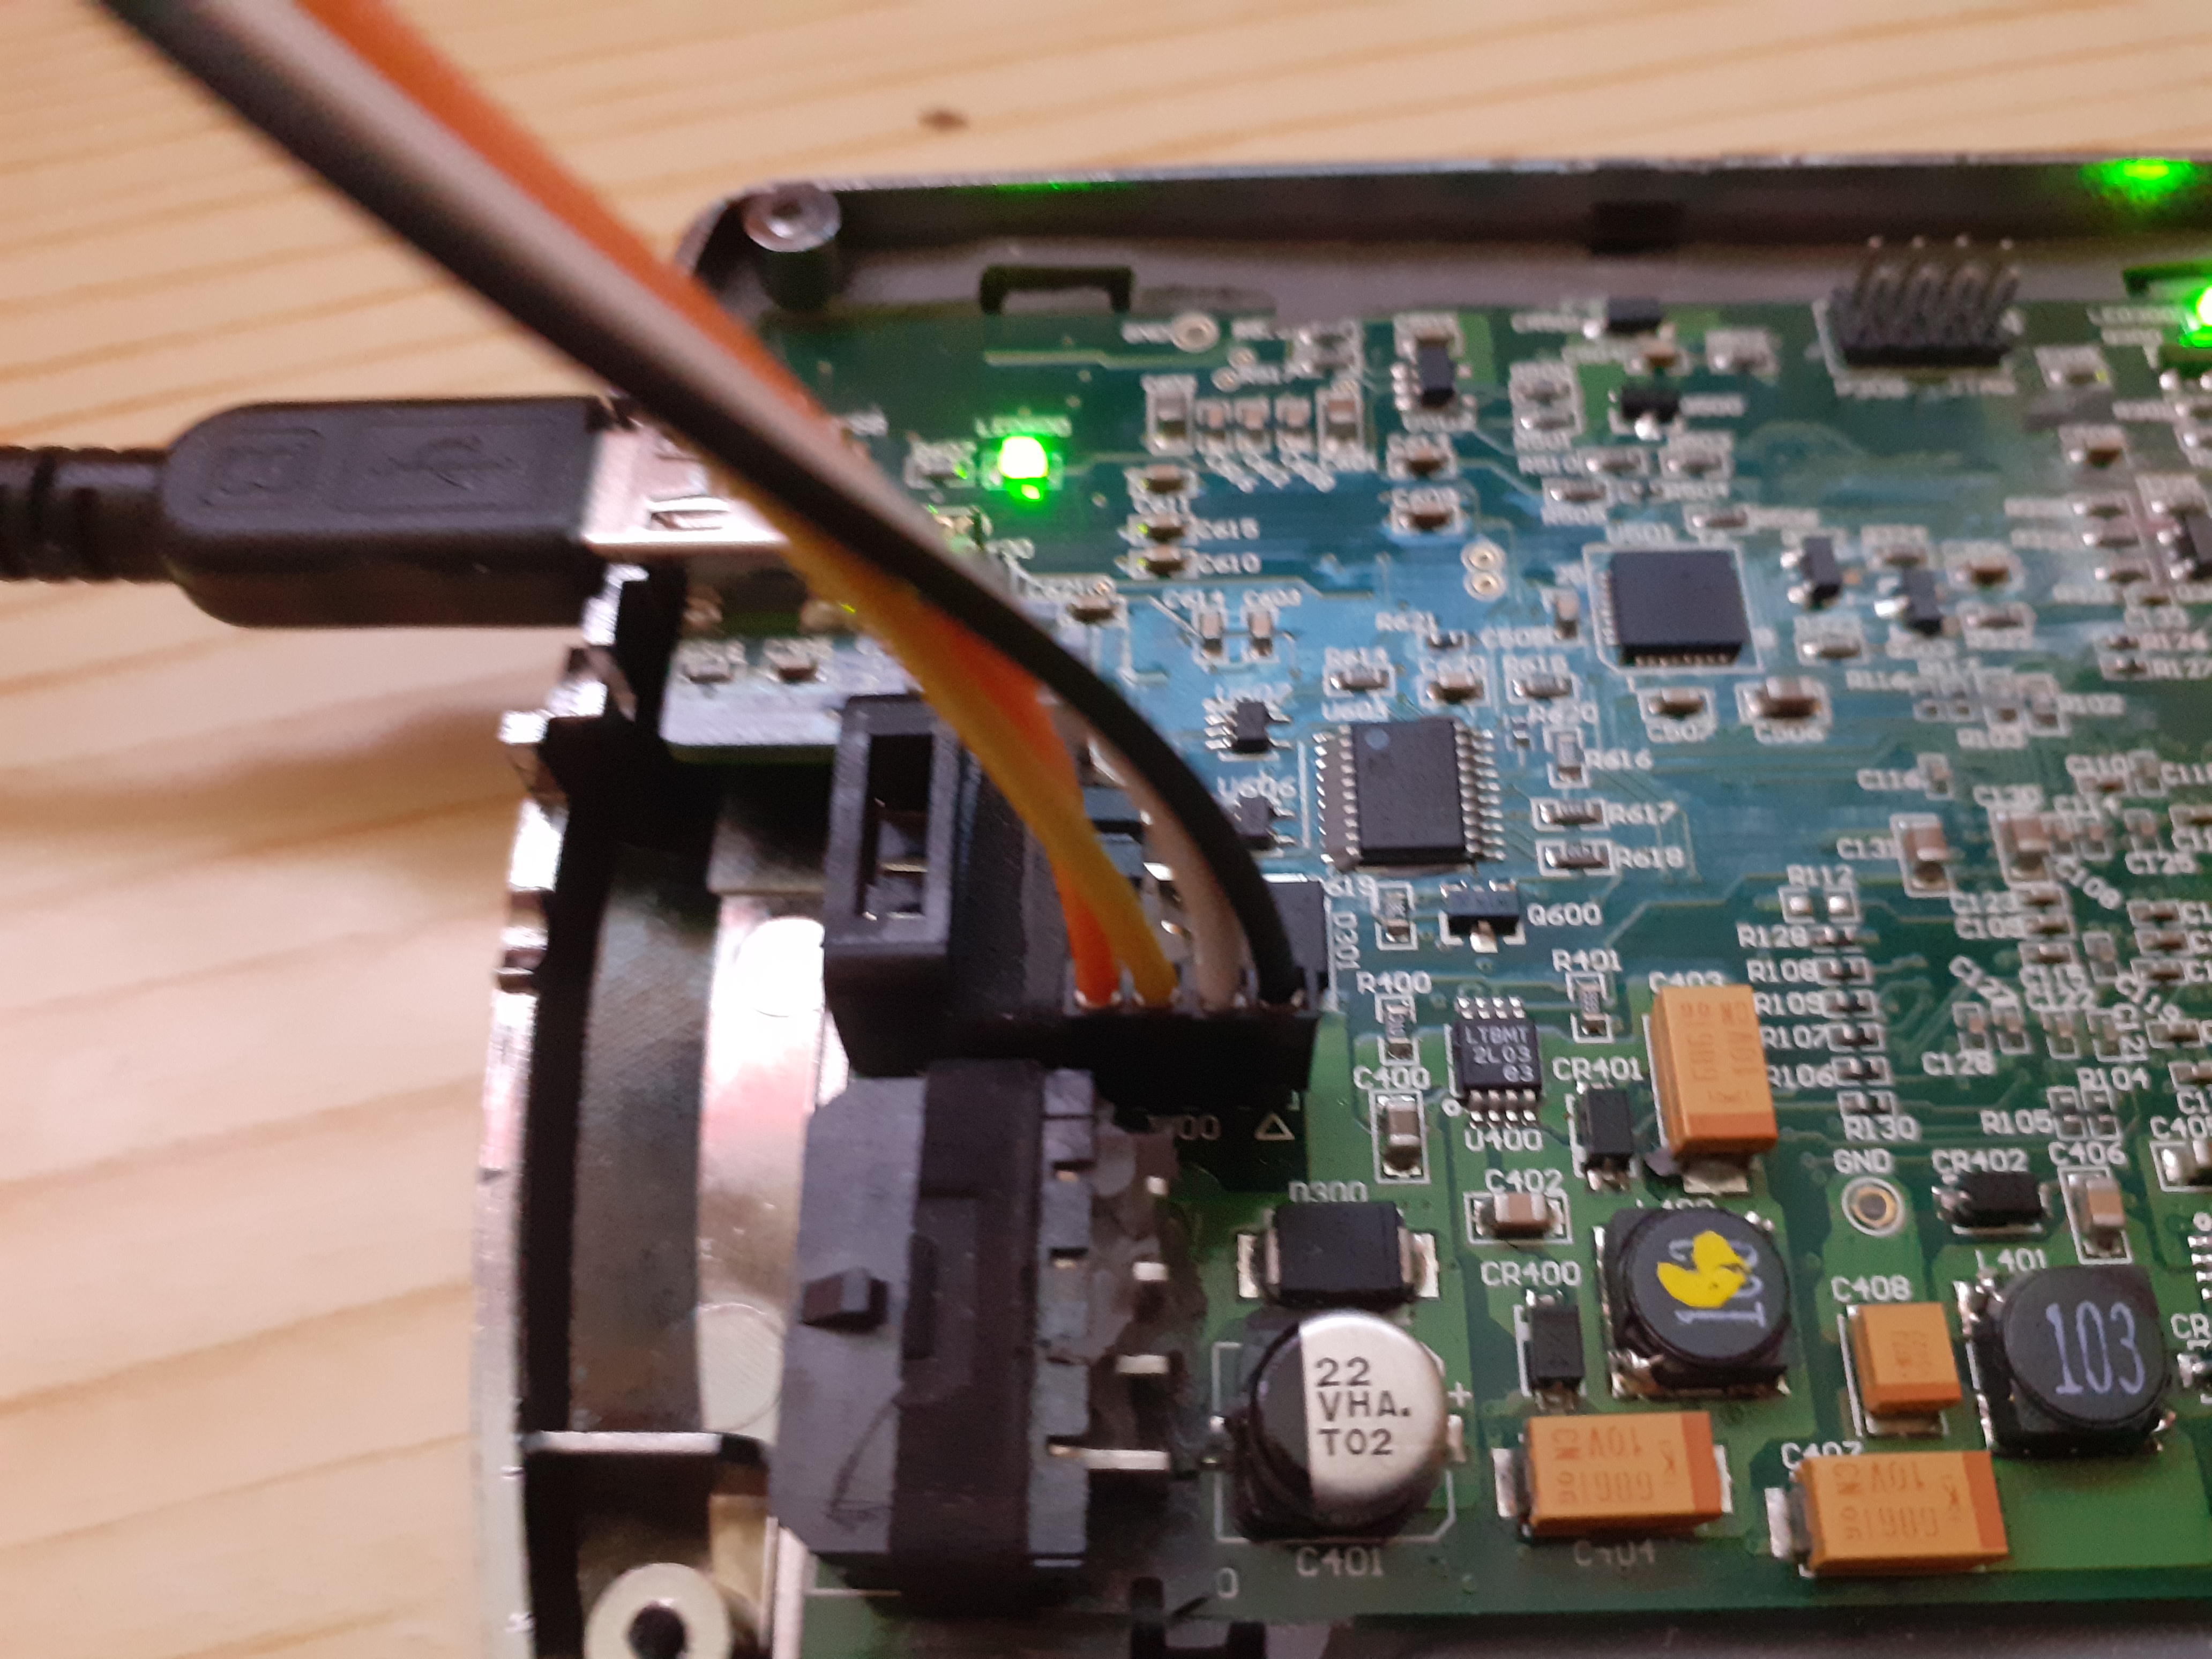
By looking closely, we can spot 4 pins with written DEBUG over it!
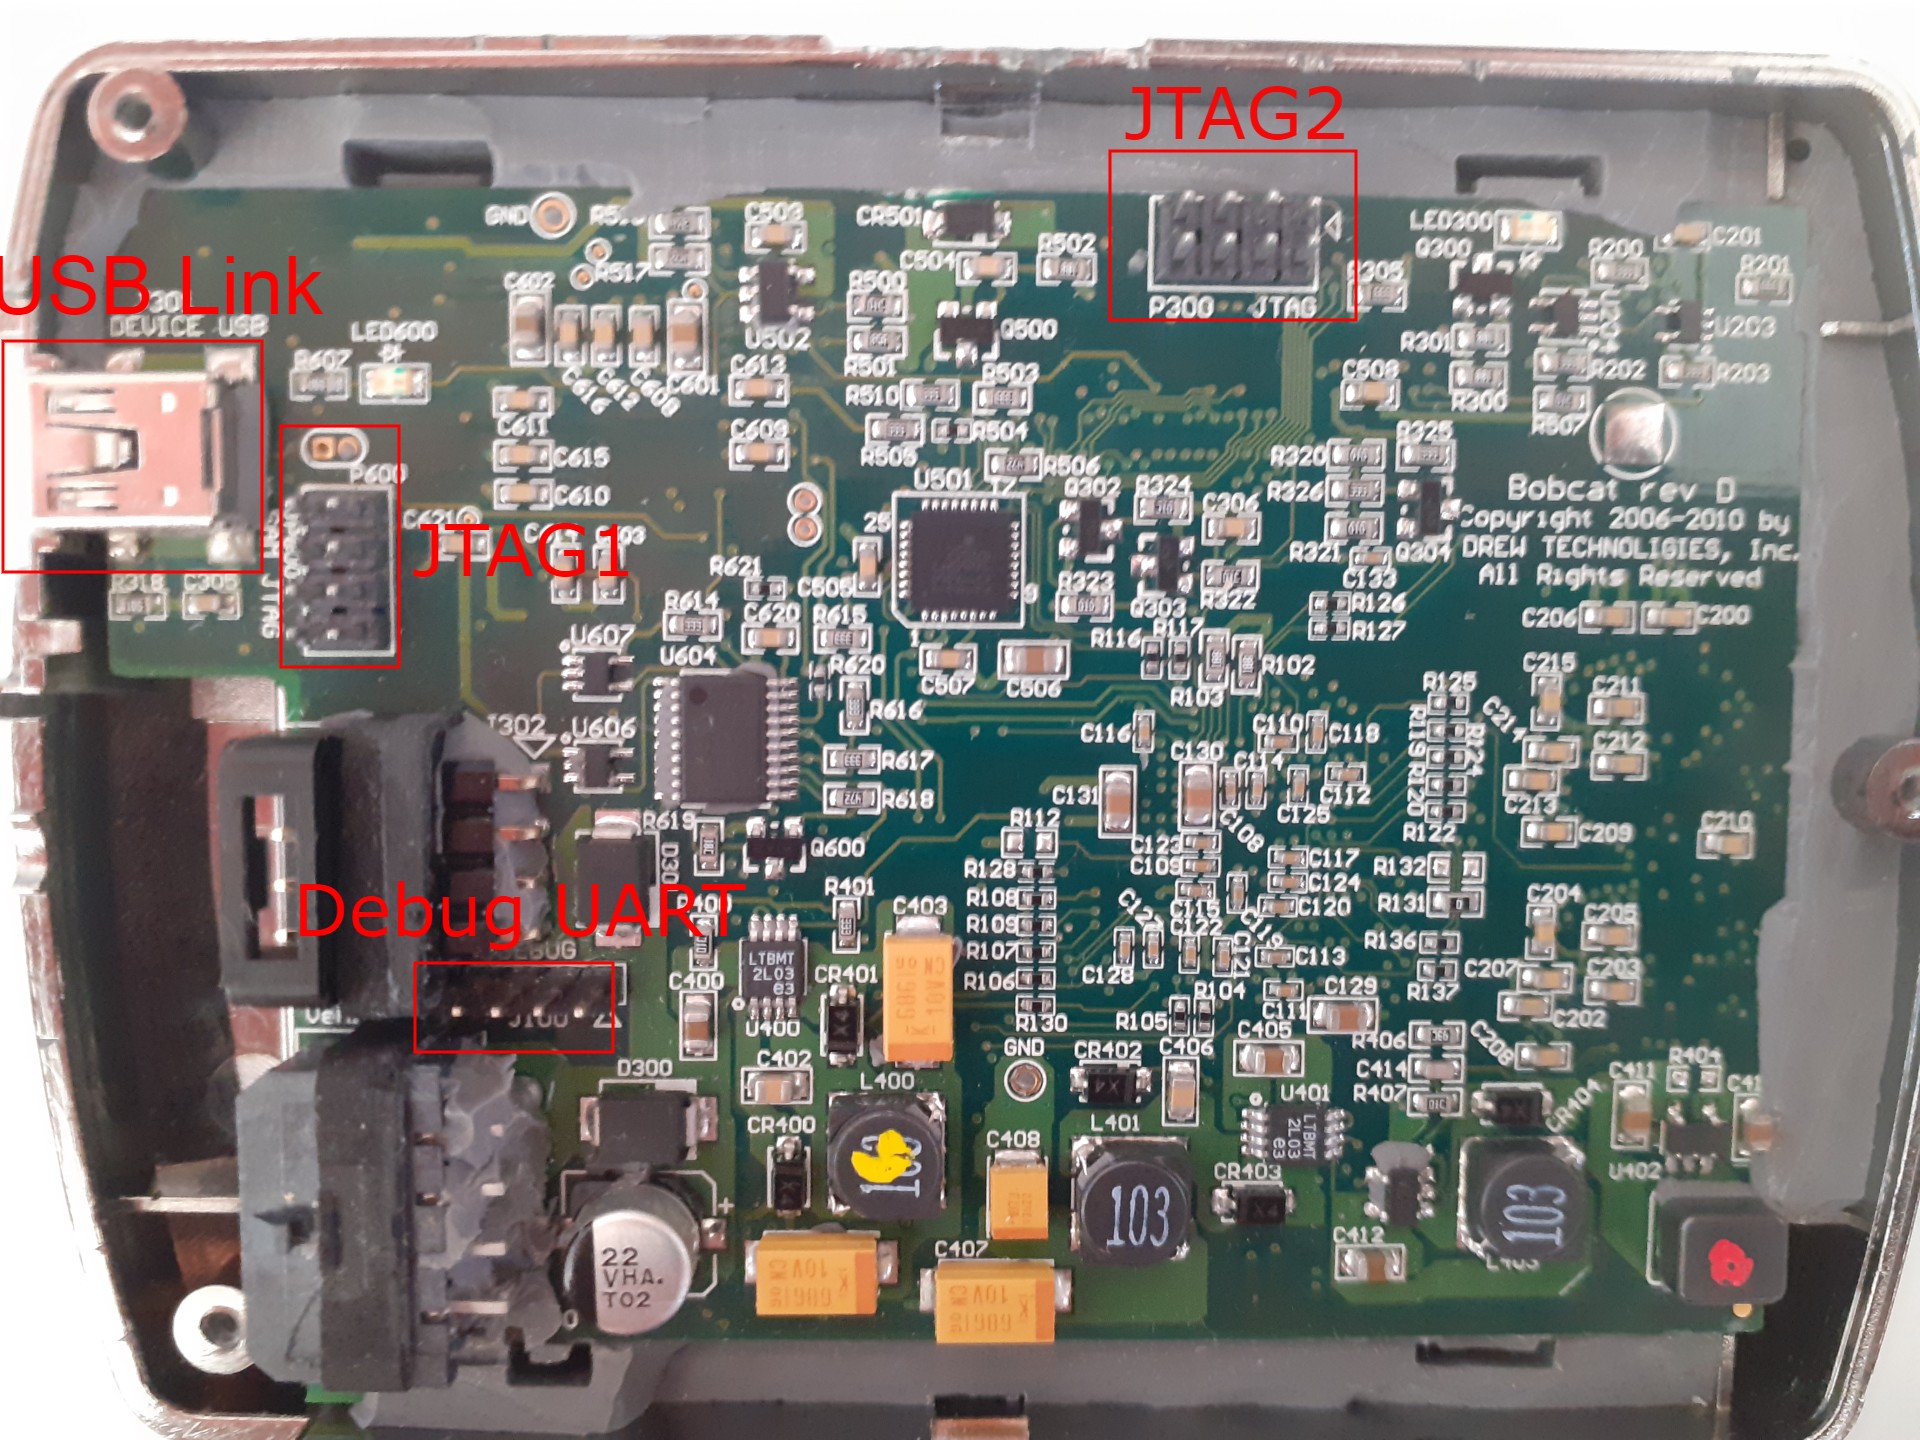
So we connect to it using an UART to USB adapter, and fire up minicom.
ROMBoot
Welcome to bobcat
bocat login:
Problem is the shell is password protected, and even after days of bruteforcing (using this tool), no password was found. Also, U-Boot is set as quiet and there is no way from this shell to interact with the boot sequence.
One track remains unexplored: the RECOVERY MODE
Recovery Mode
Messing around with the RecoveryTool.exe we find that there is a recovery mode for the device. It is activated by pressing the power button while plugin in the USB link.

Now what is interesting with this mode is that it switches the communication mode on the USB Link port. In fact, in nominal working mode, this port uses a proprietary protocol that restrains many actions (see Filex Specification in part 2), whereas in recovery mode the port exposes a U-Boot shell!
U-Boot> printenv
bootargs=console=ttyS0,115200 ubi.mtd=linux root=31:4 lpj=598016 quiet
bootcmd=nboot kernel;bootm;
bootdelay=0
baudrate=115200
mtdids=nand0=atmel_nand
mtdparts=mtdparts=atmel_nand:128k@0x0(at91bootstrap)ro,1m(u-boot)ro,2m(kernel),-(linux)
silent=yes
ver=U-BootVersion:1.0.1
stdout=usbser
stdin=usbser
stderr=usbser

Environment size: 316/131068 bytes
We can modify the boot parameters in order to bypass the authentication on the internal UART debug port:
U-Boot> setenv bootargs "console=ttyS0,115200 ubi.mtd=linux root=31:4 lpj=598016 single"
U-Boot> setenv silent no
U-Boot> setenv bootdelay 3
U-Boot> printenv
bootcmd=nboot kernel;bootm;
baudrate=115200
mtdids=nand0=atmel_nand
mtdparts=mtdparts=atmel_nand:128k@0x0(at91bootstrap)ro,1m(u-boot)ro,2m(kernel),-(linux)
ver=U-BootVersion:1.0.1
stdout=usbser
stdin=usbser
stderr=usbser
bootargs="console=ttyS0,115200 ubi.mtd=linux root=31:4 lpj=598016 single"
silent=no
bootdelay=3

Environment size: 319/131068 bytes
We replace quiet with single in order to deactivate the authentication, add a delay so we have enough time to get to the UART shell, and set silent to “no” in order to make sure we have a boot trace on the UART shell.
To do this, we need to be connected simultaneously to the USB link where we configure the new parameters, and the internal UART debug port, where the shell should pop.
Once all the parameters are set, running the boot command on the USB Link with U-Boot will trigger a single user recovery mode boot:
U-Boot> boot
Loading from nand0, offset 0x120000
   Image Name:   Bobcat-577
   Image Type:   ARM Linux Kernel Image (uncompressed)
   Data Size:    828996 Bytes = 809.6 KiB
   Load Address: 20008000
   Entry Point:  20008040
## Booting kernel from Legacy Image at 20008000 ...
   Image Name:   Bobcat-577
   Image Type:   ARM Linux Kernel Image (uncompressed)
   Data Size:    828996 Bytes = 809.6 KiB
   Load Address: 20008000
   Entry Point:  20008040
   Verifying Checksum ... OK
   XIP Kernel Image ... OK
OK
And meanwhile, on the UART debug connection:
[    0.000000] Linux version 2.6.30 (joey@superserver) (gcc version 4.3.3 (GCC) ) #32 PREEMPT Thu Feb 3 09:43:13 E1
[    0.000000] CPU: ARM926EJ-S [41069265] revision 5 (ARMv5TEJ), cr=00053177
[    0.000000] CPU: VIVT data cache, VIVT instruction cache
[    0.000000] Machine: Dynojet Power Vision
[    0.000000] Memory policy: ECC disabled, Data cache writeback
[    0.000000] Clocks: CPU 192 MHz, master 96 MHz, main 16.000 MHz
[    0.000000] Built 1 zonelists in Zone order, mobility grouping on.  Total pages: 16002
[    0.000000] Kernel command line: console=ttyS0,115200 ubi.mtd=linux root=31:4 lpj=598016 single
[    0.000000] NR_IRQS:192
[    0.000000] AT91: 96 gpio irqs in 3 banks
...
[    0.930000] UBI: background thread "ubi_bgt0d" started, PID 97
[    0.950000] VFS: Mounted root (squashfs filesystem) readonly on device 31:4.
[    0.960000] Freeing init memory: 64K
/
# id
uid=0(root) gid=0(root)
# ggwp
On the left, the U-Boot shell, and on the right, the UART shell displaying the boot sequence.

2.3 Recovery Mode Shell
The shell we obtained is setup in a specific mode where only part of the firmware is mounted. We now need the complete firmware. One way to do this would be finding the Openssl encryption password, and decrypt the PVU_FILE. But let’s start with another way first.
Back in 2.1 we suspected that the firmware might be stored unencrypted, and only the update files would be stored encrypted. This is the correct answer:
[    0.410000] UBI: attaching mtd3 to ubi0
[    0.410000] UBI: physical eraseblock size:   131072 bytes (128 KiB)
[    0.420000] UBI: logical eraseblock size:    129024 bytes
[    0.430000] UBI: smallest flash I/O unit:    2048
[    0.430000] UBI: sub-page size:              512
[    0.430000] UBI: VID header offset:          512 (aligned 512)
[    0.440000] UBI: data offset:                2048
[    0.870000] UBI: attached mtd3 to ubi0
[    0.880000] UBI: MTD device name:            "linux"
[    0.880000] UBI: MTD device size:            252 MiB
[    0.890000] UBI: number of good PEBs:        2023
[    0.890000] UBI: number of bad PEBs:         0
[    0.900000] UBI: max. allowed volumes:       128
[    0.900000] UBI: wear-leveling threshold:    4096
[    0.910000] UBI: number of internal volumes: 1
[    0.910000] UBI: number of user volumes:     2
[    0.910000] UBI: available PEBs:             0
[    0.920000] UBI: total number of reserved PEBs: 2023
[    0.920000] UBI: number of PEBs reserved for bad PEB handling: 20
[    0.930000] UBI: max/mean erase counter: 110/68
[    0.930000] UBI: background thread "ubi_bgt0d" started, PID 97
In the boot sequence, we can see that an UBI file system is mounted from the MTD devices. Using the root shell we now have, we find 2 interesting devices: UBI0_0 and UBI0_1. To read directly from them, we use dd and uuencode:
dd if=/dev/ubi0X of=stdout bs=SIZE count=COUNT 2&>/dev/null |uuencode -m ubi00
And we extract the base64 encoded data from the minicom logs. We know the size of the firmware from the PVU_FILE (around 11MB), and we know the size of the memory chip from the u-boot data in the recovery files (128MB).
$ binwalk ubi00

DECIMAL       HEXADECIMAL     DESCRIPTION
--------------------------------------------------------------------------------
0             0x0             Squashfs filesystem, little endian, version 4.0, compression:gzip, size: 10473396 bytes, 455 inodes, blocksize: 131072 bytes, created: 2019-09-04 20:48:04

$ binwalk ubi01

DECIMAL       HEXADECIMAL     DESCRIPTION
--------------------------------------------------------------------------------
0             0x0             UBIFS filesystem superblock node, CRC: 0x8254BB9D, flags: 0x0, min I/O unit size: 2048, erase block size: 129024, erase block count: 1917, max erase blocks: 2039, format version: 4, compression type: lzo
129024        0x1F800         UBIFS filesystem master node, CRC: 0xBA73BA7B, highest inode: 2248, commit number: 132173
131072        0x20000         UBIFS filesystem master node, CRC: 0xF9347A80, highest inode: 2248, commit number: 132174
133120        0x20800         UBIFS filesystem master node, CRC: 0xB9DAE7BF, highest inode: 2248, commit number: 132175
258048        0x3F000         UBIFS filesystem master node, CRC: 0xB6434F66, highest inode: 2248, commit number: 132173
260096        0x3F800         UBIFS filesystem master node, CRC: 0xF5048F9D, highest inode: 2248, commit number: 132174
262144        0x40000         UBIFS filesystem master node, CRC: 0xB5EA12A2, highest inode: 2248, commit number: 132175
5062704       0x4D4030        Zip archive data, at least v1.0 to extract, compressed size: 11, uncompressed size: 11, name: PVU_TYPE
5062781       0x4D407D        Zip archive data, at least v1.0 to extract, compressed size: 128, uncompressed size: 128, name: PVU_CERT
5062975       0x4D413F        Zip archive data, at least v2.0 to extract, compressed size: 11295533, uncompressed size: 11293808, name: PVU_FILE
...
There you go, the whole firmware is here
- UBI0_0: readonly part of the firmware, that means binaries, layout and everything essential to the device.
- UBI0_1: the read/write part of it, so the licenses, user files, new updates etc.
Bingo, we can start reversing!
References
This post gave me the idea for switching to single user mode in the boot parameters.
In the next episode
- Firmware reverse engineering and emulation (focus on the USB Link proprietary protocol)
- Loot (passwords, encryption keys…)
- Buffer overflow
On behalf on Unicorn Security, I wish you all netsecurios a happy new year! Stay tuned for next part.